Month: February 2015
I will be at the Gold Rush Gravel Grinder in Spearfish, SD
I will be at the Gold Rush Gravel Grinder in Spearfish, SD. competing in the Gold Dust 70 mile Over 40 division. Here’s to making the cutoff, potatoes on Cement Ridge, and not being DFL. 🙂
Full-length internal cable housing, critical lessons learned
I learned several critical things during this bike build, that are worth sharing, even if only to keep them in my mind for the next one.
There’s a definite order to routing internal brake cable housing, it’s cable, housing, cable in order to get it right:
- Cut the head off of an old brake cable, and thread this through the plastic guide tube provided in your frame. Don’t put it through the brake levers, just through the frame. You use the cable as the guide for the housing.
- Remove the plastic guide tube from the old brake cable. Now you should have only the brake cable routed through the frame.
- Use the brake cable as a guide to route the brake cable housing through the frame. Be certain to have plenty of housing for this, this will need to go all the way from your caliper, through the frame, to your brake lever, and it will need enough extra for movement of the handlebars.
- Remove the old brake cable, cut the housing to fit, and route the new brake cable through the lever, the housing, and into the caliper. If this is a road lever, splice an inline cable tensioner into the housing so you can adjust your brakes.
Flyxii FR-216 Monstercross gravel-killer 29er build
This is my first experiment purchasing a bicycle frame directly from China. This is a Flyxii FR-216 29er frame with matching fork. I purchased this frame directly from Flyxii via Aliexpress with the intent of building a drop-bar monstercross 29er rig for really rough gravel events, such as Gold Rush in South Dakota. Complete, the build weighs in at 23.5 lbs, easily 3 lbs lighter than my 700c Soma Double Cross Disc gravel bike.


Level-set time: this is the first carbon-fiber bicycle I’ve ever built, and the first I’ve ever owned. All of my previous rides have been steel. I learned a lot during this build, in no particular order:
- Tubeless tire casings ooze a lot of sealant. Really.
- Setting up tubeless doesn’t work when you keep overinflating the tires. Don’t exceed 40 psi.
- Full-length brake housing is required on frames like this. They don’t come with instructions, so you have to work that out for yourself.
- All threads need to be chased, so you need a bottom bracket thread and facing tool, as well as 10mm and 4mm taps. Be really careful, all of these threads are aluminum!
- Use a torque wrench everywhere, torque keys are cheap and easy to find, and the pre-set 5Nm ones are brain-dead easy to use.

The bike is SRAM X7, with Apex shifters, BB7R brakes, and an X9 front derailleur. A Salsa Promoto stem and Salsa Woodchipper bars, along with a Flyxii carbon seatpost, Salsa Lip-lock, a Fizik Aliante VSX saddle, and Shimano XT SPD pedals form the cockpit. Of particular note, I installed 40/27 Rotor Q rings on SRAM X7 crank. I think they are much kinder on my knees than round rings are. Wheels are WTB i23 rims, Deore XT 6-bolt disc hubs with 160mm rotors and WTB Nano TCS tires setup tubeless. It took two layers of Stan’s tape, and 3 oz of sealant to get the setup to work, they’ve held air now for 3 weeks.
On this particular frame, the seat tube is 34.9mm, the seatpost is 31.6mm, and it takes an IS type headset and BSA bottom bracket.

It’s cold as fuck here right now, so a full test ride will have to wait for temps warmer than 15F.
Finished
23.5 lbs. finished. Photos and write-up to come soon. It looks pretty damn awesome, I must say. It’s black and evil looking, like a warplane.
Direct from China
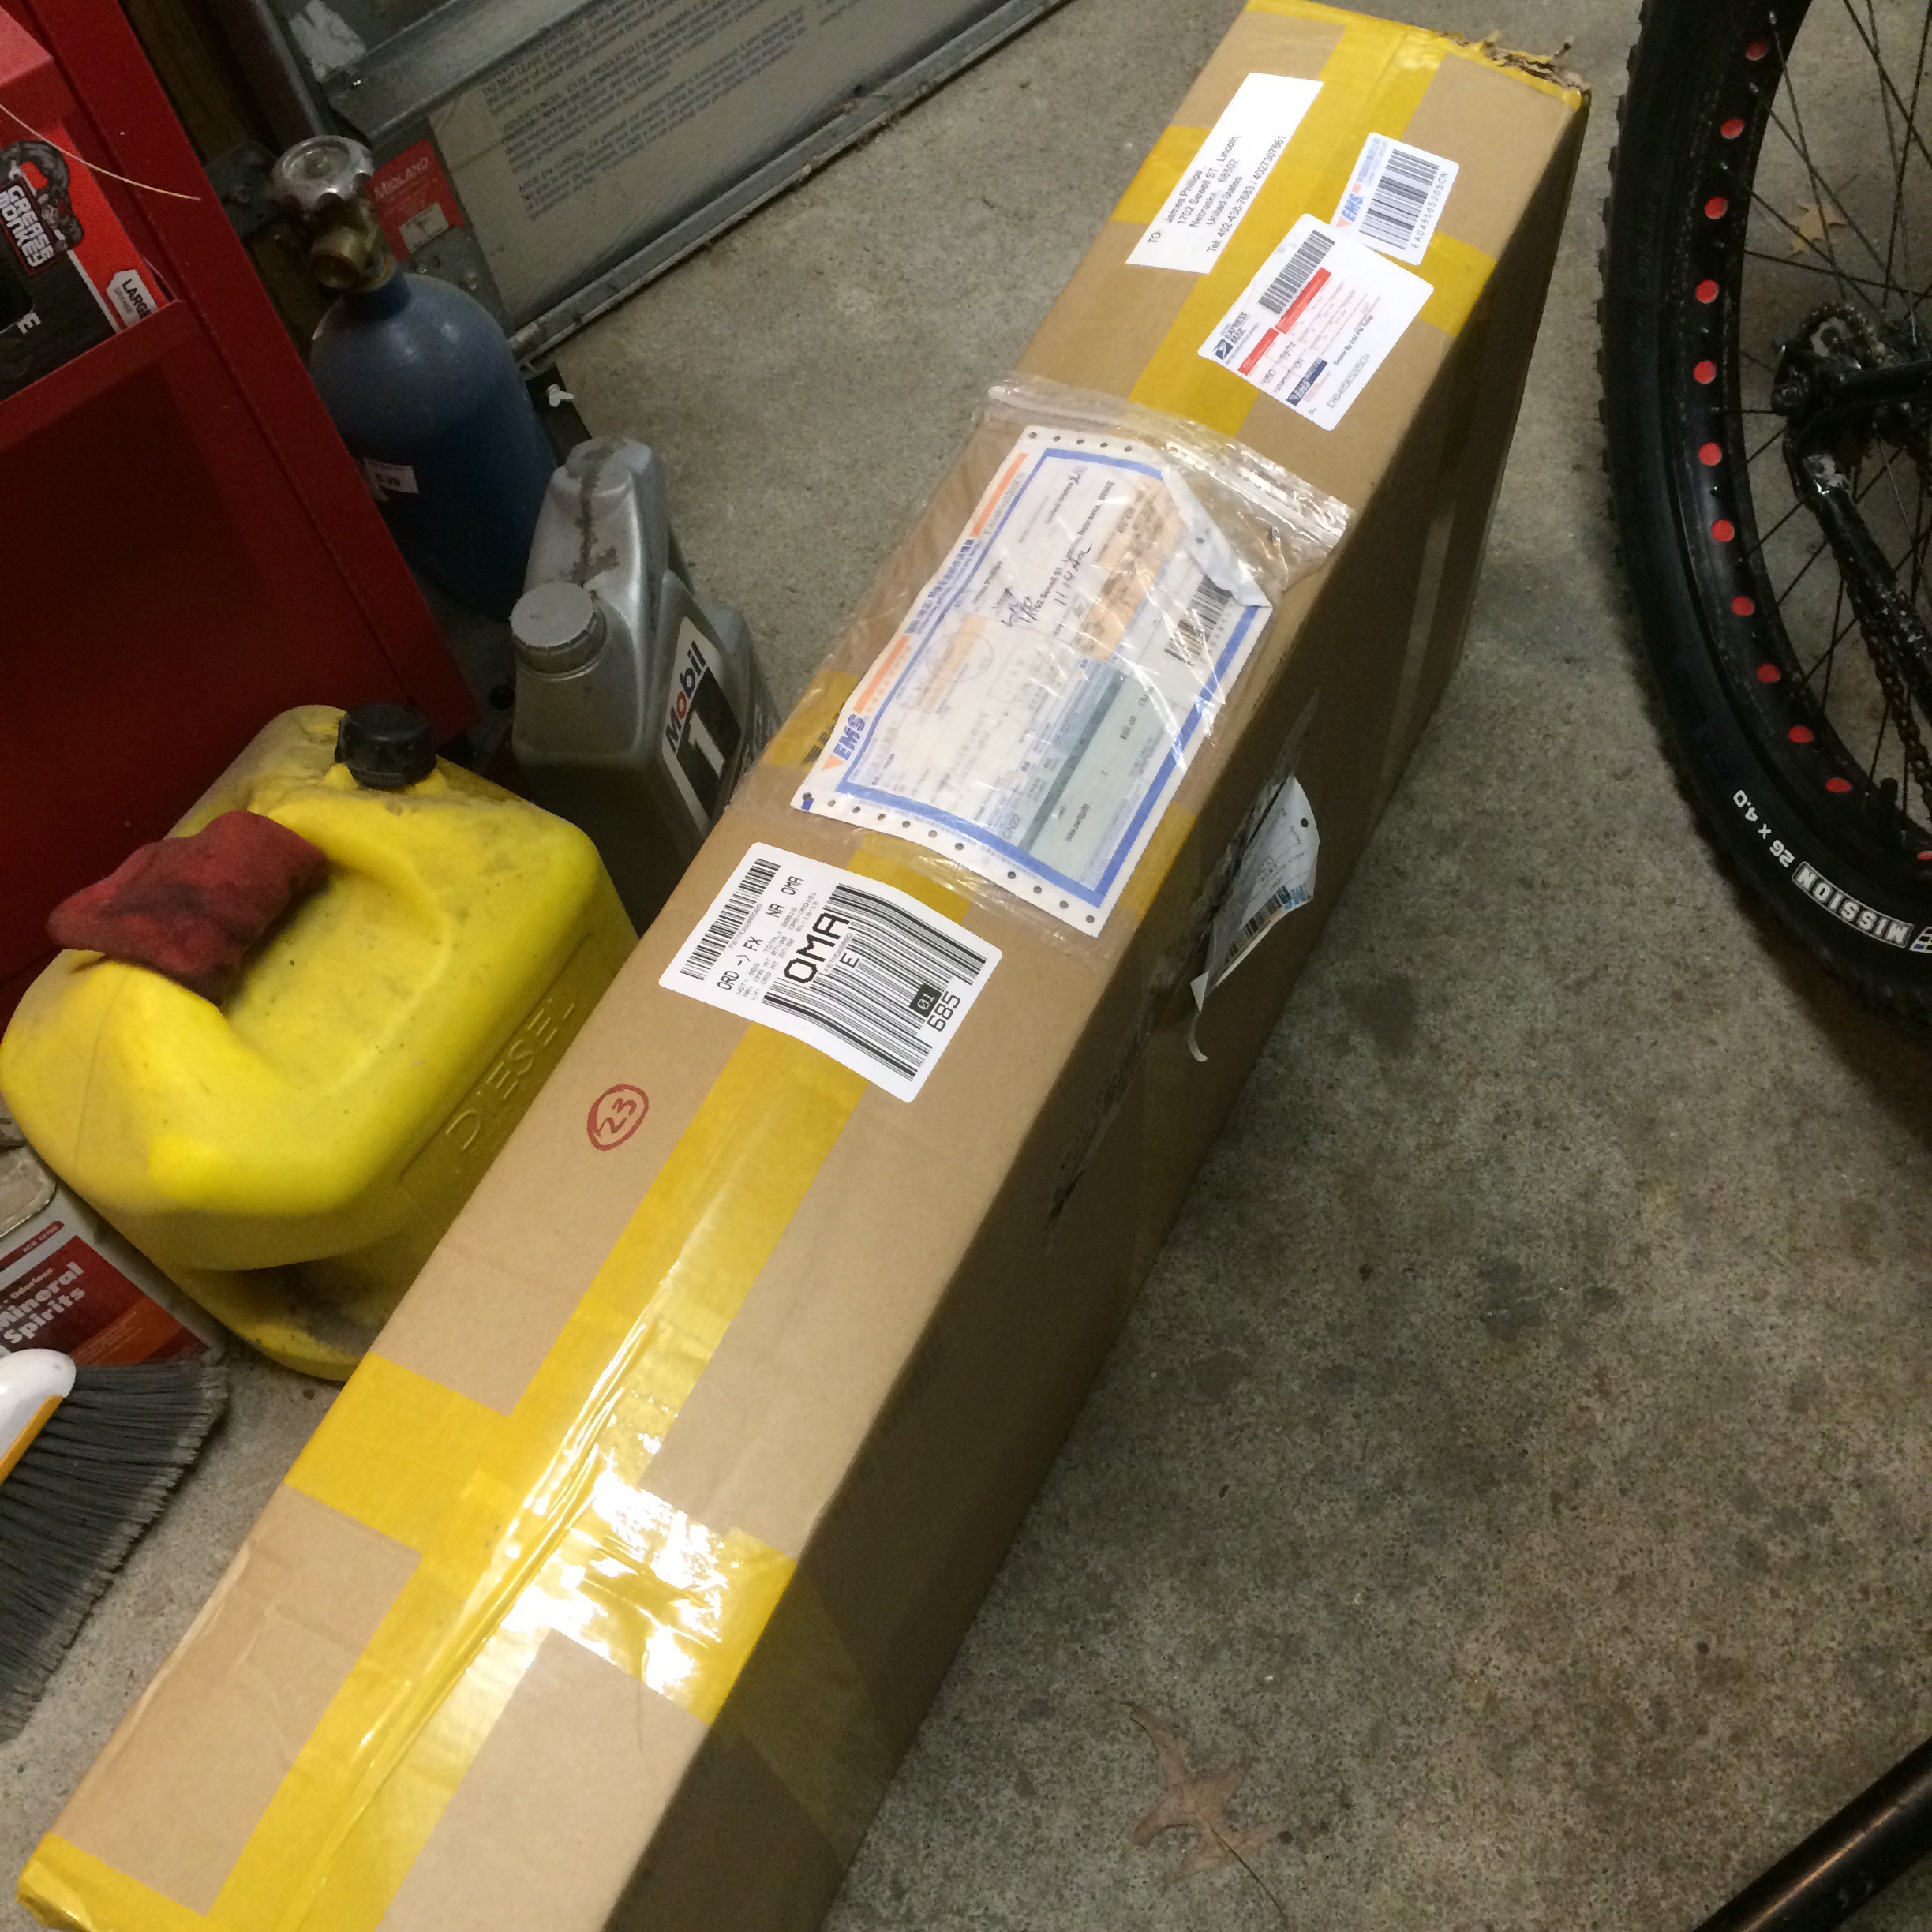
I took the plunge, and decided to build a chinese carbon fiber framed 29’er Monstercross bike to compete in rough gravel races, such as Gold Rush in Spearfish, SD.
I choose the Flyxii FR-216 frame and matching carbon fork with BSA bottom bracket.
Everything is made in China these days. This came from Flyxii, 13 days order to door. No shit. I’m impressed.
I received a set of WTB i23 wheels from Velo Mine the same day. This bike will ride on tubeless WTB Nano TCS tires, with a SRAM X7 setup with Apex shifters and BB7 brakes, Salsa cockpit, and Rotor Q Rings.
Tubeless Setup
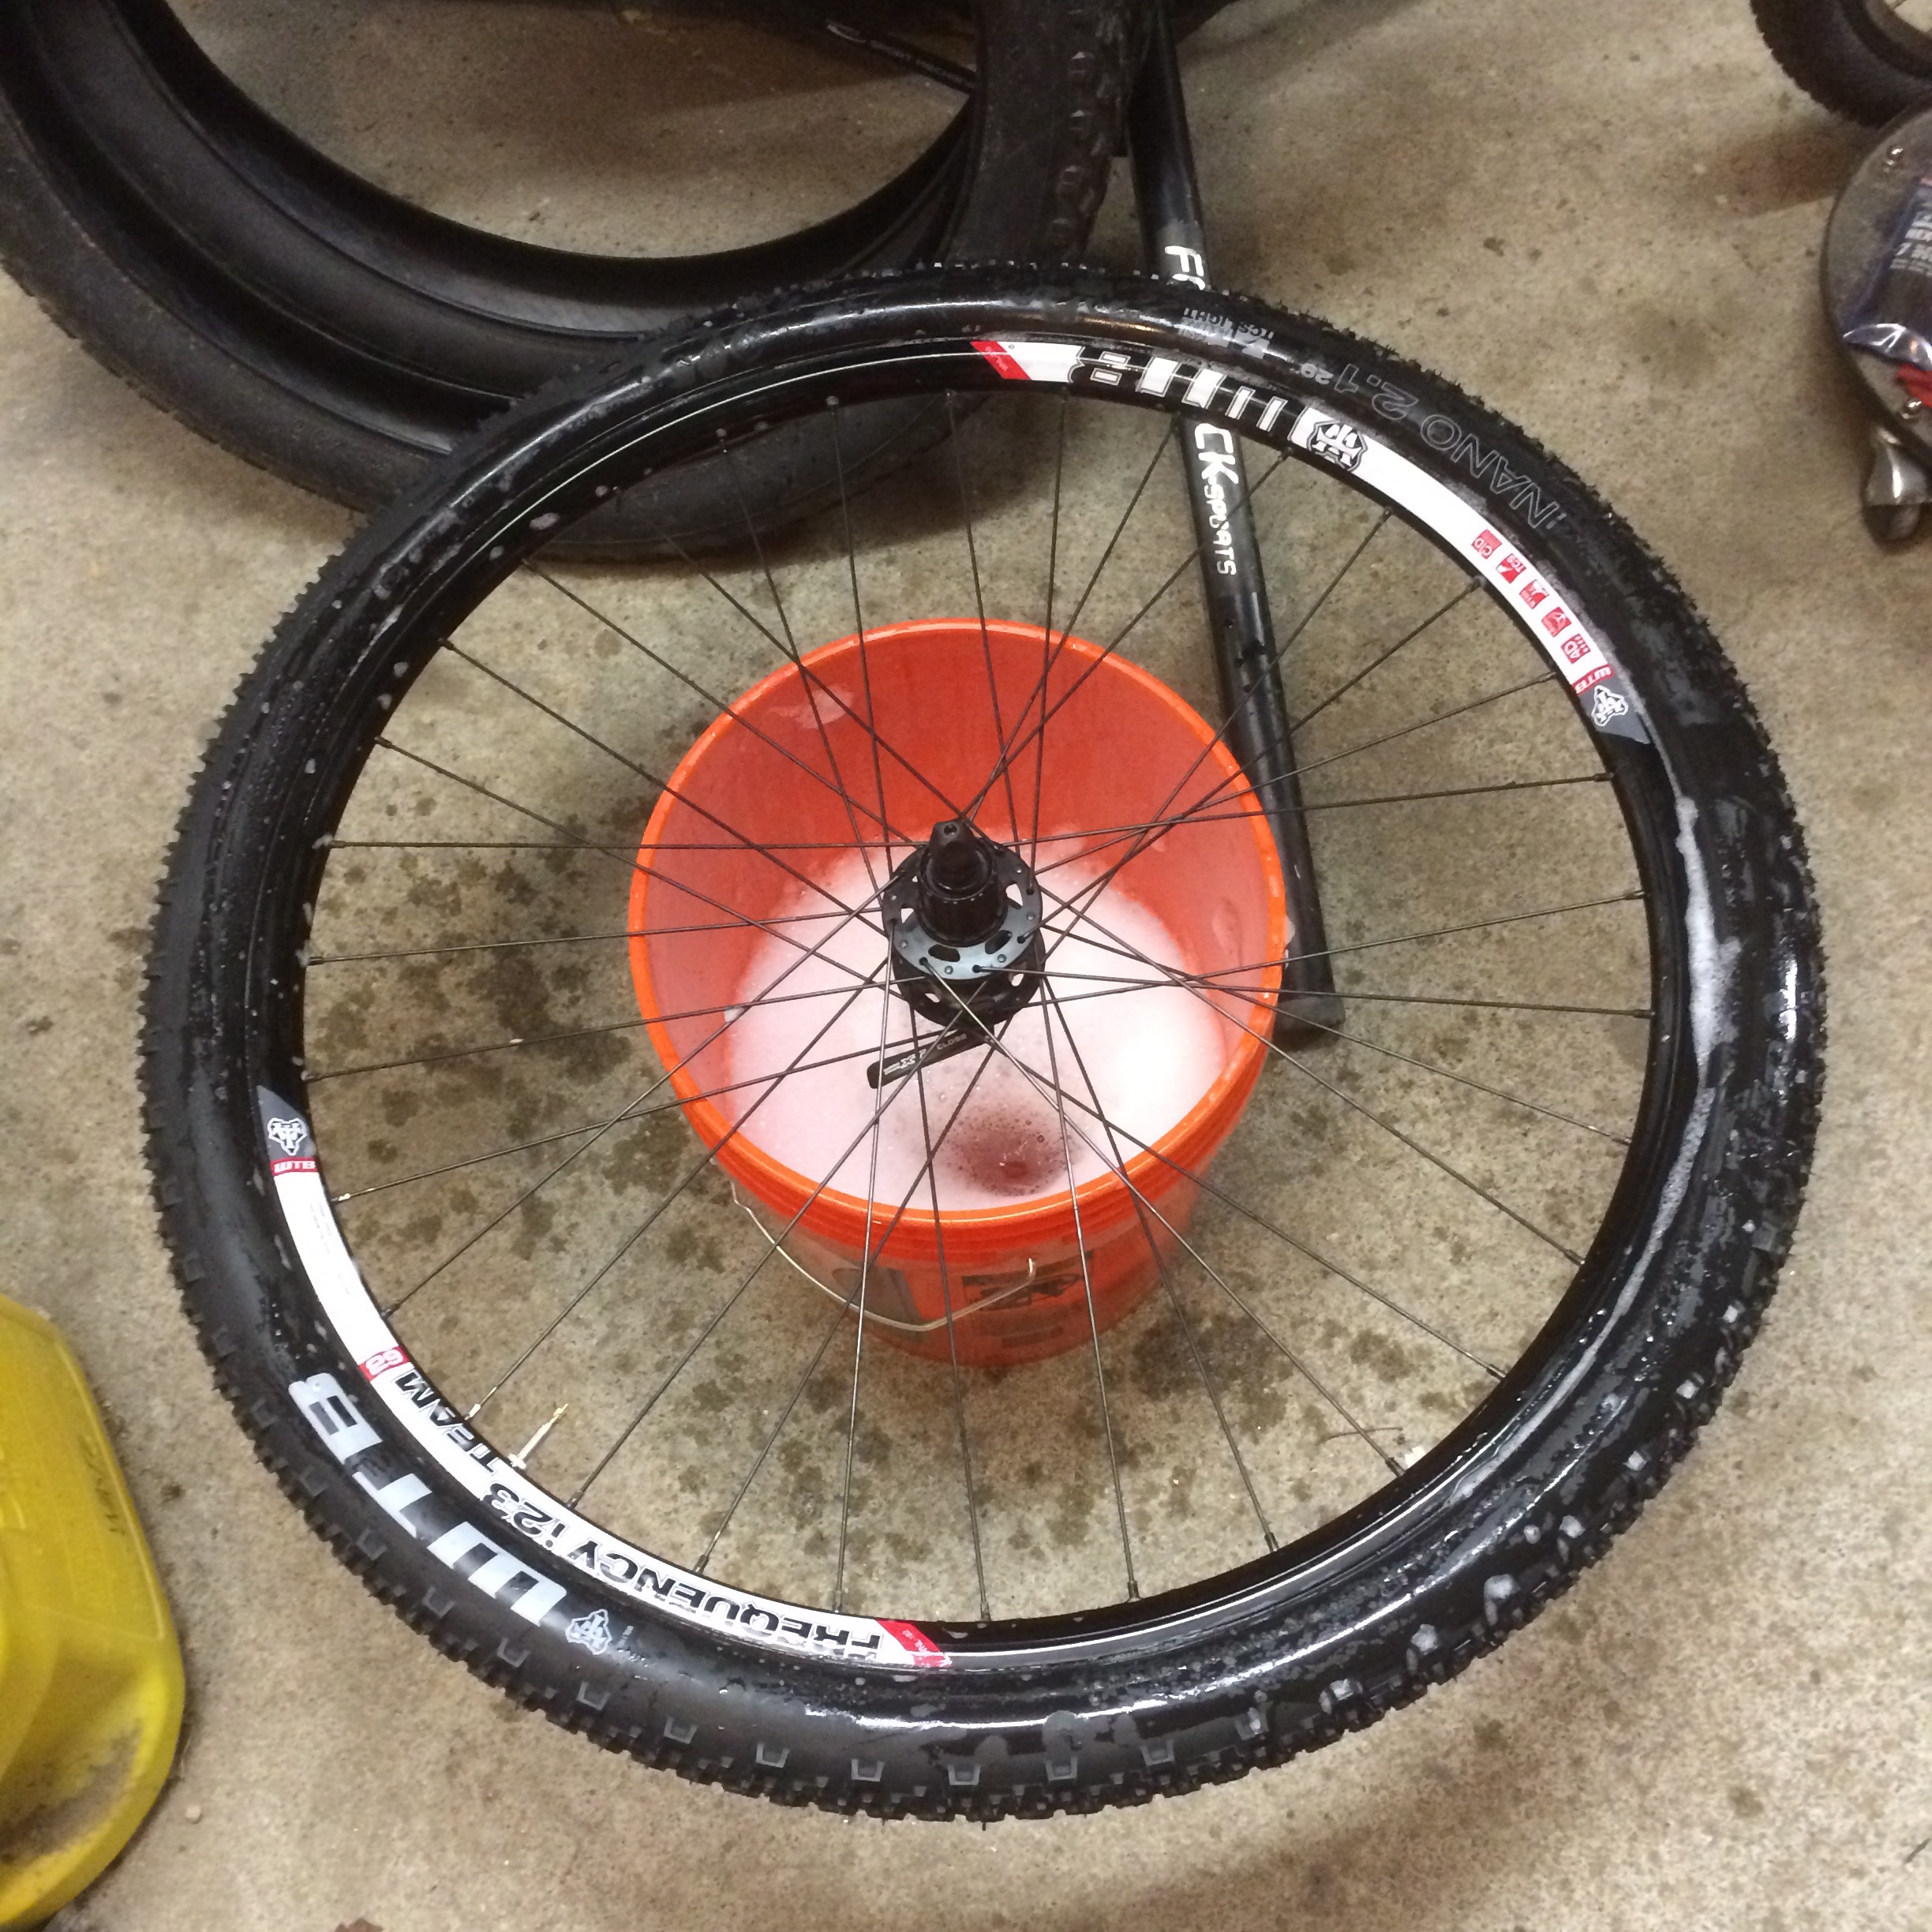
Dude, whatever you do, don’t inflate these past 40 psi.
OK, you need to get them to 60 psi so the beads will pop. The i23 rims have this funny double bead thingy going on. Put soap on the beads, too. This is a wet job, so wear your bikini and a threadbare t-shirt. The neighbors want to watch. I needed two layers of Stan’s tape, and 3 oz of sealant. The sidewalls were full of little pin holes that took some time and effort to seal up. Once they all filled in, it was golden.
